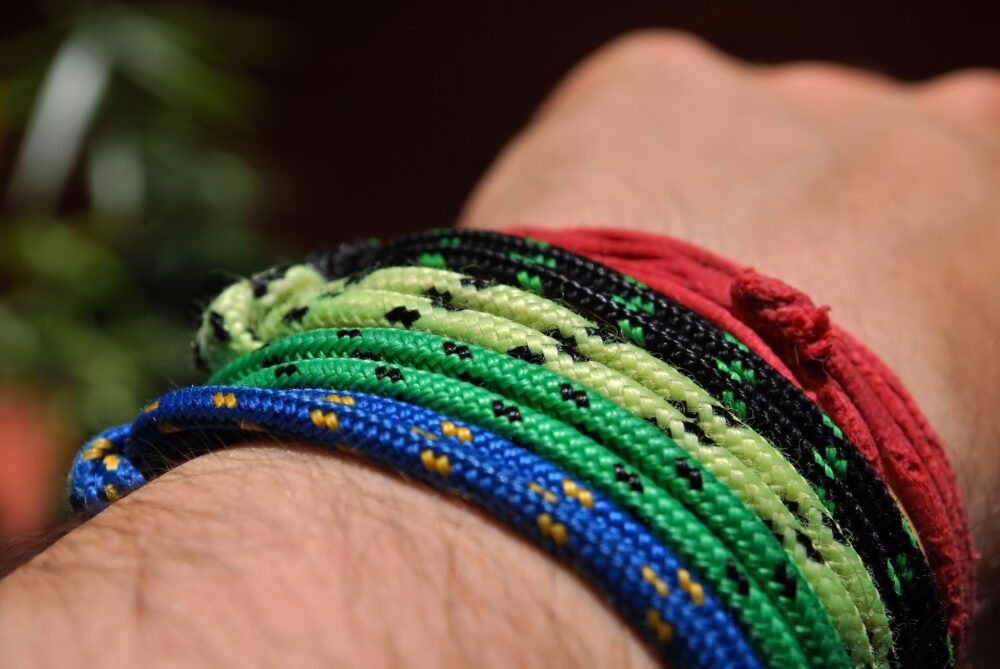
If you’re searching for a way to make a paracord bracelet without a buckle, then you’re in luck. This article will take you through a few easy knots that you can use to create a unique bracelet. You’ll also learn some great tips to help you along.
Double fisherman’s knot
The Double Fisherman’s Knot is an excellent way to tie two ropes together. It is relatively easy to learn and can be used for retrieving abseils or for making a full-rope-length abseil. However, it can be tricky to tie properly. In order to be sure that you are not tying the knot incorrectly, it may be helpful to practice the knot on another object before using it to make a bracelet.
To use the Double Fisherman’s Knot to make a bracelet, you will need to make a loop with the cord. Make sure that you have a loop that is large enough to fit around your hand, but not too big.
After the loop is made, you will need to put the ends of the cord into the loop. You can do this by pinching the ends of the cord and pulling them through the loop. Continue to do this until you have the desired amount of slack in the ends.
When you have a small amount of slack left, you can then pull the ends under the inner side of the bracelet. Continue to work the slack under more knots until you have a thicker, more rigid bracelet.
Another variation on the Double Fisherman’s Knot is the Zeppelin Bend. This version of the knot is also easier to remove. If you have an extra end of paracord, you can use it to secure an emergency tarp, or to sew a garment that has come apart.
You can also create a two-color cord by super-gluing the ends of two different colors. You can then use the two-color strands to make a bracelet.
If you do not want to use a buckle to make a bracelet, you can use a toggle button knot. This is an excellent knot to use in place of a buckle.
Whether you decide to use the Double Fisherman’s Knot or a different knot to make a bracelet, it is important to practice on a piece of scrap material before trying it on your wrist. This will help you to avoid melting too much of the paracord.
Turk’s head knot
When it comes to using paracord, the Turk’s head knot is a great choice for a bracelet. It has a unique look and feel, and it doesn’t require buckles. The best part is that it’s easy to make. You can find out more about the craft at Paracord Planet, where you can download tutorials and view high-quality pictures.
There are many different varieties of the turk’s head knot. One is a simple three-strand five-bight knot that can be tied around a finger, while another is a complex three-strand, ten-bight braid that is meant to be worn on a wrist. Both of these are pretty impressive. Whether you decide to use it to create a bracelet, hang it on your wrist, or adorn an oar, the Turk’s Head is a fun little craft to play with.
To get the most out of a turk’s head knot, you’ll need more than a couple of feet of paracord. For a small knot, you’ll need about seven or eight feet. If you’re interested in crafting a more intricate turk’s head, you’ll need a jig, or some sort of tool that helps you do the job.
A jig is usually made of a PVC pipe or wooden dowel. It’s attached to an oval shaped piece of wood, called a mandrel. Several pins are embedded in the jig to keep the cord in place while the knot takes shape. After you’ve completed a few passes, the knot should be ready to cinch. Use craft glue or scissors to tuck it in underneath the bracelet.
As for the tying of the turk’s head, you’ll want to take a look at the jig that was used in the demonstration. There are several premade jigs on the market, but it’s also possible to make one yourself. Depending on the knot you choose to make, you might have to splurge for a few feet of paracord or a braided nylon rope. However, this is a craft that’s well worth the effort, as it’s one of the most impressive tying projects you can do with a single strand of paracord.
Northern Spikes
A Northern Spikes paracord bracelet is not only cool to look at, it’s also functional. This is particularly true in case you ever need to go on a hike in the woods or even survive a zombie apocalypse. The best part is that you don’t have to spend a fortune to get one. You can find cheap paracord at your local hardware store or online.
To make a paracord bracelet, you’ll need a few cords of differing lengths. For an 8-inch wrist, you’ll need about 8 feet. After you cut the cords, you’ll need to trim the ends and make sure they are singed. It’s a good idea to snag a lighter and fuse the ends together for a tighter grip. If you’re in a pinch, you can soak the paracord in water to shrink it down.
A Northern Spikes paracord bracelet without a buckle is a cool looking and easy to make piece of accessory. Make sure you use the right colors for a balanced and stylish look. Try making one using a combination of yellow and blue cords. When you’re done, you’ll have a bracelet that looks like it’s been around for ages.
There are many other ways to make a paracord bracelet, including a crooked river bar. This is a fancy-pants weave that holds tons of cord. Using a crooked river bar will also give your paracord bracelet a rugged appearance that can’t be beat. In addition to being an impressive weave, this is an elegant piece of jewelry that can be worn with almost any outfit. Besides, the more you wear it, the longer it will last.
The name of the game is to find a paracord bracelet that you’ll be happy to have on you for the long haul. The most important aspect is to pick a design that complements your personality. Luckily, there are hundreds of designs to choose from. Whether you’re going for a simple, no-fuss style or a complex, dazzling display of cordage, there’s a style for you. Besides, the only thing better than having a funky paracord bracelet is knowing how to wear it.
Jagged Ladder Bar Bracelet by TIAT
Jagged Ladder Bar is an ideal way to teach children the art of Macrame. This wide, flat piece features diagonal loops on each side. It is perfect for key rings, belts, and pet collars. You can use this bracelet in any color or combination of colors. However, make sure to choose a dark color so that the pieces can be easily seen against a light background.
To start, gather three 60-inch cords. You will need a working cord, a holding cord, and a button knot clasp. Choose two colors, and one of them is likely to be the working cord. For best contrast, you can also use a third color. After you have gathered all the cords, you should weave the bracelet in opposite directions. Then, you will need to pull the free ends to secure the weave. Lastly, you can cut the excess paracord and trim the ends. If you want to, you can add a button knot to the clasp to create a clasped bracelet.
Tighten the holding cords consistently. If you are using a button knot clasp, you can also trim the holding cords longer. Now that the bracelet is finished, you can attach it to the end of your wrist.